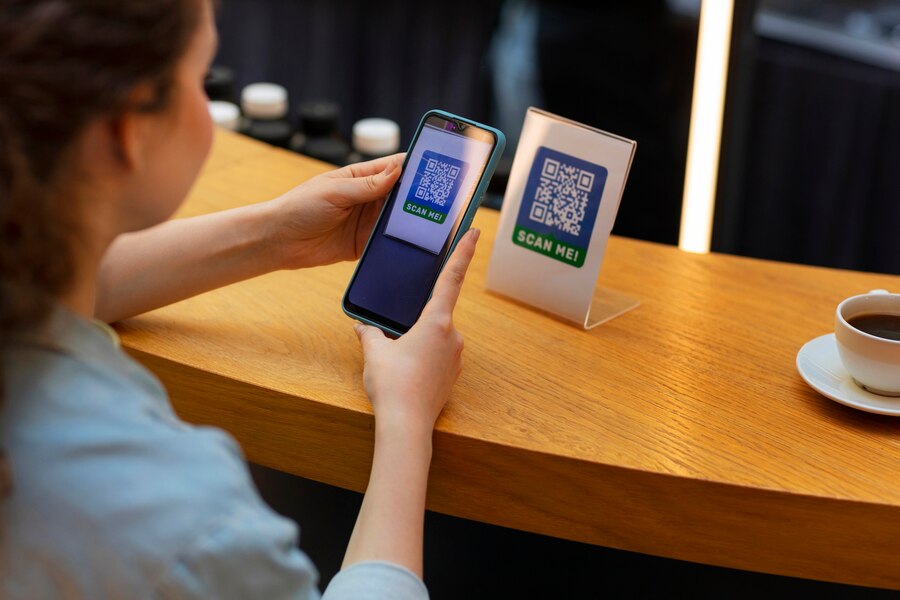
UPI transactions and UPI payment apps have now become a mainstay in our daily lives. No matter where you go, there is always a very high chance that you will see the UPI QR codes at shops, in autos, public transport ticketing stations and more. The UPI technology has made our lives effortless, but what happens when your UPI transaction fails?
If you have encountered one such instance where your UPI payment has failed, then do not panic. There are a couple of reasons why it may have happened and some methods on what you can do in case you see the message ‘UPI transaction failed’.
Why did my UPI transaction fail?
Here are some common reasons on why your UPI transaction may have failed:
- Your payment will fail if you have entered a wrong UPI ID
- It can also fail if the receiver’s ID is wrong
- Bank servers could be down
- Your mobile internet is not working, and you need to recharge
To be honest, there can be multiple reasons on why your UPI transaction has failed.
Things to do if your UPI transaction or payment has failed
Here are a couple of pointers which can help you when your UPI transaction or payment fails:
Check your daily UPI payment limit first
One of the most common reasons why you are seeing the UPI transaction has failed is that your daily UPI payment limit is exhausted. A large number of banks and UPI payment apps have put a limit on the number of UPI transactions that you can do within a day.
In addition, NPCI, which is the governing body that overlooks UPI payments, has stated that you cannot conduct transactions worth more than ₹1 lakh via UPI. If you are in the middle of your payment and completing the transaction is extremely important to you, then try to pay the amount via a different method, such as NEFT, RTGS or IMPS.
Read more: What is NEFT in banking and how does it work?
Link multiple bank accounts with your UPI ID
Your UPI payment could also have failed because your current bank account server is busy. In fact, busy bank servers are also extremely popular and as long as the servers are not fixed, this problem will keep showing on your UPI payment app. So, what do you do? Should you give up and pay cash, in case you have that much amount with you?
Not yet! Since these issues are very frequent, it is always a good idea to have multiple UPI accounts or UPI IDs linked to your bank account. You can also try to use another UPI payments app to complete the payment.
Read more: How to find out and know what is your UPI ID!
Make sure you always enter the correct UPI PIN
Remembering the huge library of passwords in our heads all the time may is not really a piece of cake. At the end of it, you have to remember the passwords or PINs of your credit & debit cards, your bank account password, UPI PIN, other passwords, and a lot more. As a result, it is perfectly normal if you have forgotten your UPI PIN.
Not to worry, however, because you can change your UPI PIN very easily. Just click on ‘forgot UPI PIN’ and then follow the rest of the on-screen instructions to complete resetting your UPI PIN.
Read more: How to reset and create a new UPI PIN?
Check the receiver’s details
While sending money to another UPI ID, make sure that you have entered the right ID. This problem may not arise when you are scanning a QR code, but more often if you have typed in a wrong UPI ID.
Look at your internet connection
If you are unable to do UPI transactions multiple times, then the problem might be with your internet connection. Move around a bit to check if the UPI transaction finally completes. If not, then activate aeroplane mode on your phone and then disable it to see if the internet is fine.
Read more: Learn how to fix mobile networks not available
Use Airtel Thanks UPI Payment App to avoid transaction failure
If you are facing frequent issues with your UPI payments, then now is the right time to switch to Airtel Thanks App.
- A single app for all your Airtel and non-Airtel recharges or bill payments
- Send money to anyone via Airtel UPI using QR code scan & pay or enter their UPI registered phone number
- Airtel UPI is a secure way to send money and manage your payments
- Check out your payment history with Airtel UPI, set up autopay,
- Get immediate SMS notifications whenever you pay with Airtel UPI
- Faster payments to other UPI apps via Airtel UPI
How can you create an UPI ID on the Airtel Thanks app?
Here are the steps to create your UPI ID on the Airtel Thanks app:
- First, download and login/register into the Airtel Thanks app.
- Go to the “Pay” tab located in the bottom bar
- Then, tap on “UPI Registration.”
- Click on “Link Bank Account” and finish the SMS verification process in just a few seconds.
- Select your desired bank account and connect it to your Airtel UPI ID.
- Your Airtel UPI ID is now set up! Initiate your first transaction.
Your UPI ID is now activated. Next, you can initiate payments by clicking on pay UPI ID, verifying the name of the UPI ID, and entering the amount details.
So, download the Airtel Thanks app right away and activate your Airtel UPI ID for better UPI transactions.


 Get App
  Airtel Store
  Login
Login 


