Get App
  Airtel Store
  Login
Login 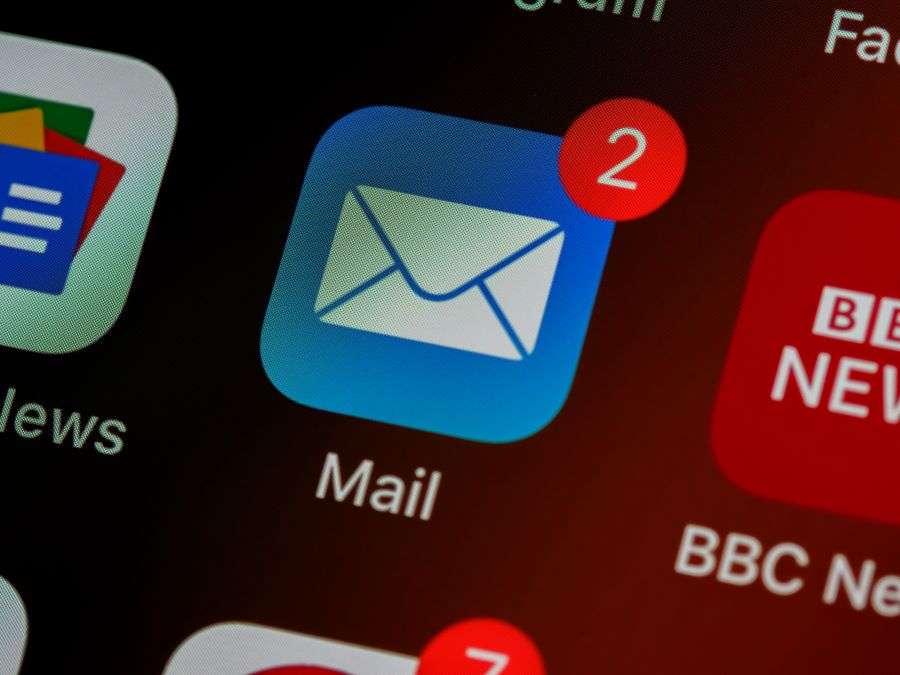
Be it a student or a working professional, emails are a big part of everyone’s daily lives. Important updates, work and study related communication, marketing campaigns, financial statements, and others are usually shared using email applications. Therefore, it is essential to get every update from your email app in real time. This is possible if your email application is synced.
Buy Airtel Prepaid with exciting benefits!
If you are facing trouble with the sync feature in your phone, this article will surely help you fix it. Keep reading to know more.
Key Takeaways:
- Enable Automatic Email Sync or enable manual sync
- Clear Device’s storage and cache to make space for email syncing
- Update new passwords on all devices
- Keep updating your email app as and when needed
- Remove and re-add the email account(s) again
Also read: Easy hacks to fix a rejected sim card
Ways to fix email syncing issues on your device
There are multiple ways to fix email syncing issues on your device. Here are some methods to try out:
Enable Automatic Email Sync
- Gmail (Android & iOS)
- Open the Gmail app on your phone.
- Tap on the three horizontal lines (hamburger icon) in the top-left corner to open the menu.
- Scroll down and tap on “Settings.”
- Tap on your email account to access the account settings.
- Tap on “Sync account” or “Manage sync settings.”
- Make sure the “Sync Gmail” option is turned on.
- You can adjust the sync frequency or interval (e.g., every 15 minutes, every hour, etc.) based on your preferences. Some devices may offer “Auto” as an option, which syncs data automatically when the phone is connected to Wi-Fi.
- Tap the back button to save changes.
- Apple Mail (iOS):
- Open the “Settings” app on your iPhone or iPad.
- Scroll down and tap on “Mail.”
- Tap on “Accounts.”
- Select your email account from the list.
- Toggle on the “Mail” switch to enable automatic email sync.
- You can choose the time interval for checking new emails (e.g., every 15 or 30 minutes) or select “Fetch” to customize fetch settings.
- If you want push notifications for new emails, make sure the “Push” option is enabled.
- Tap “Back” or “Done” to save the changes.
Clear device’s storage to make space for emails to sync
For Android:
Clear App Cache:
- Open the “Settings” app on your Android device.
- Find and tap on “Apps” or “Apps & notifications,” depending on your device.
- Select the app you want to clear the cache for.
- Tap on “Storage & cache” or “Storage.”
- Tap on “Clear cache.”
Delete Unnecessary Apps:
- Go to the “Settings” app.
- Tap on “Apps” or “Apps & notifications.”
- Select the app you want to uninstall.
- Tap on “Uninstall” or “Remove.”
Clear Downloads:
- Open the “Files” app or any file manager app.
- Look for the “Downloads” folder.
- Delete any unnecessary files you no longer need.
Clear Media and Documents:
- Use a file manager app to browse through your media (photos, videos, music) and documents folders.
- Delete files you no longer need or move them to cloud storage or an external SD card if available.
For iOS (iPhone/iPad)
Clear Safari Cache and Website Data
- Open the “Settings” app on your iOS device.
- Scroll down and tap on “Safari.”
- Scroll down and tap on “Clear History and Website Data.”
Delete Unnecessary Apps
- Press and hold the app icon on your home screen until the apps start jiggling.
- Tap the “X” icon on the app you want to delete.
- Confirm the deletion.
Clear Media and Messages
- Go to the “Photos” app and delete any photos or videos you no longer need.
- Open the “Messages” app and delete old message threads with large attachments.
Manage App Data
Some apps allow you to manage their data within the app itself. For example, social media apps often store cached data that can be cleared from their settings.
Consider backing up important files and data to cloud storage or a computer, especially if you want to keep them but need to free up space.
Update and enter correct password on all devices
If you have changed your email password recently, you need to update it in your email application on your phone. In case, the password is not updated, the new emails will not get synced since it doesn’t have authorization to do so.
Add your email accounts again
If freeing up space, clearing cache, and updating passwords doesn’t fix the syncing problem, it can indicate an account configuration issue. In such a case, we suggest you follow the below steps:
- Remove all your accounts from Mail application using the remove account feature.
- Now, add all your accounts back to the app by using the add new account feature.
- Check if this method worked for you or not!
Update your email app
Updating Email App on Android (Google Play Store):
- Open the Google Play Store app on your Android device.
- Tap on the three horizontal lines (hamburger menu) in the top-left corner to open the side menu.
- From the menu, select “My apps & games.”
- You’ll see a list of apps installed on your device that have updates available. Look for the email app you want to update.
- If an update is available for the email app, it will appear with the option to “Update” next to it. Tap on “Update” to initiate the update process.
- The app will be downloaded and installed with the latest version from the Google Play Store.
Updating Email App on iOS (App Store):
- Open the App Store on your iOS device.
- At the bottom of the screen, tap on “Updates” to view available updates for all apps on your device.
- Find the email app that you wish to update in the list. If there is an update available, you will see an “Update” button next to it.
- Tap on “Update” to start downloading and installing the latest version of the email app from the App Store.
You can also enable automatic app updates, which will ensure your apps, including the email app, are automatically updated whenever new versions are released.
To enable automatic app updates on iOS:
- Open the Settings app on your iOS device.
- Scroll down and tap on “App Store.”
- Under the “Automatic Downloads” section, toggle on the “App Updates” option.
- By enabling this option, your email app and other apps will be updated automatically when new updates become available.
Try these methods to fix the email syncing issue on your phone. Additionally, make sure your mobile data or wifi is switched on to receive real time email updates on your phone. If you don’t have a proper prepaid recharge or have not paid your postpaid bill, it can affect the connectivity.
Also read: Best Prepaid Sim Card Plans in India